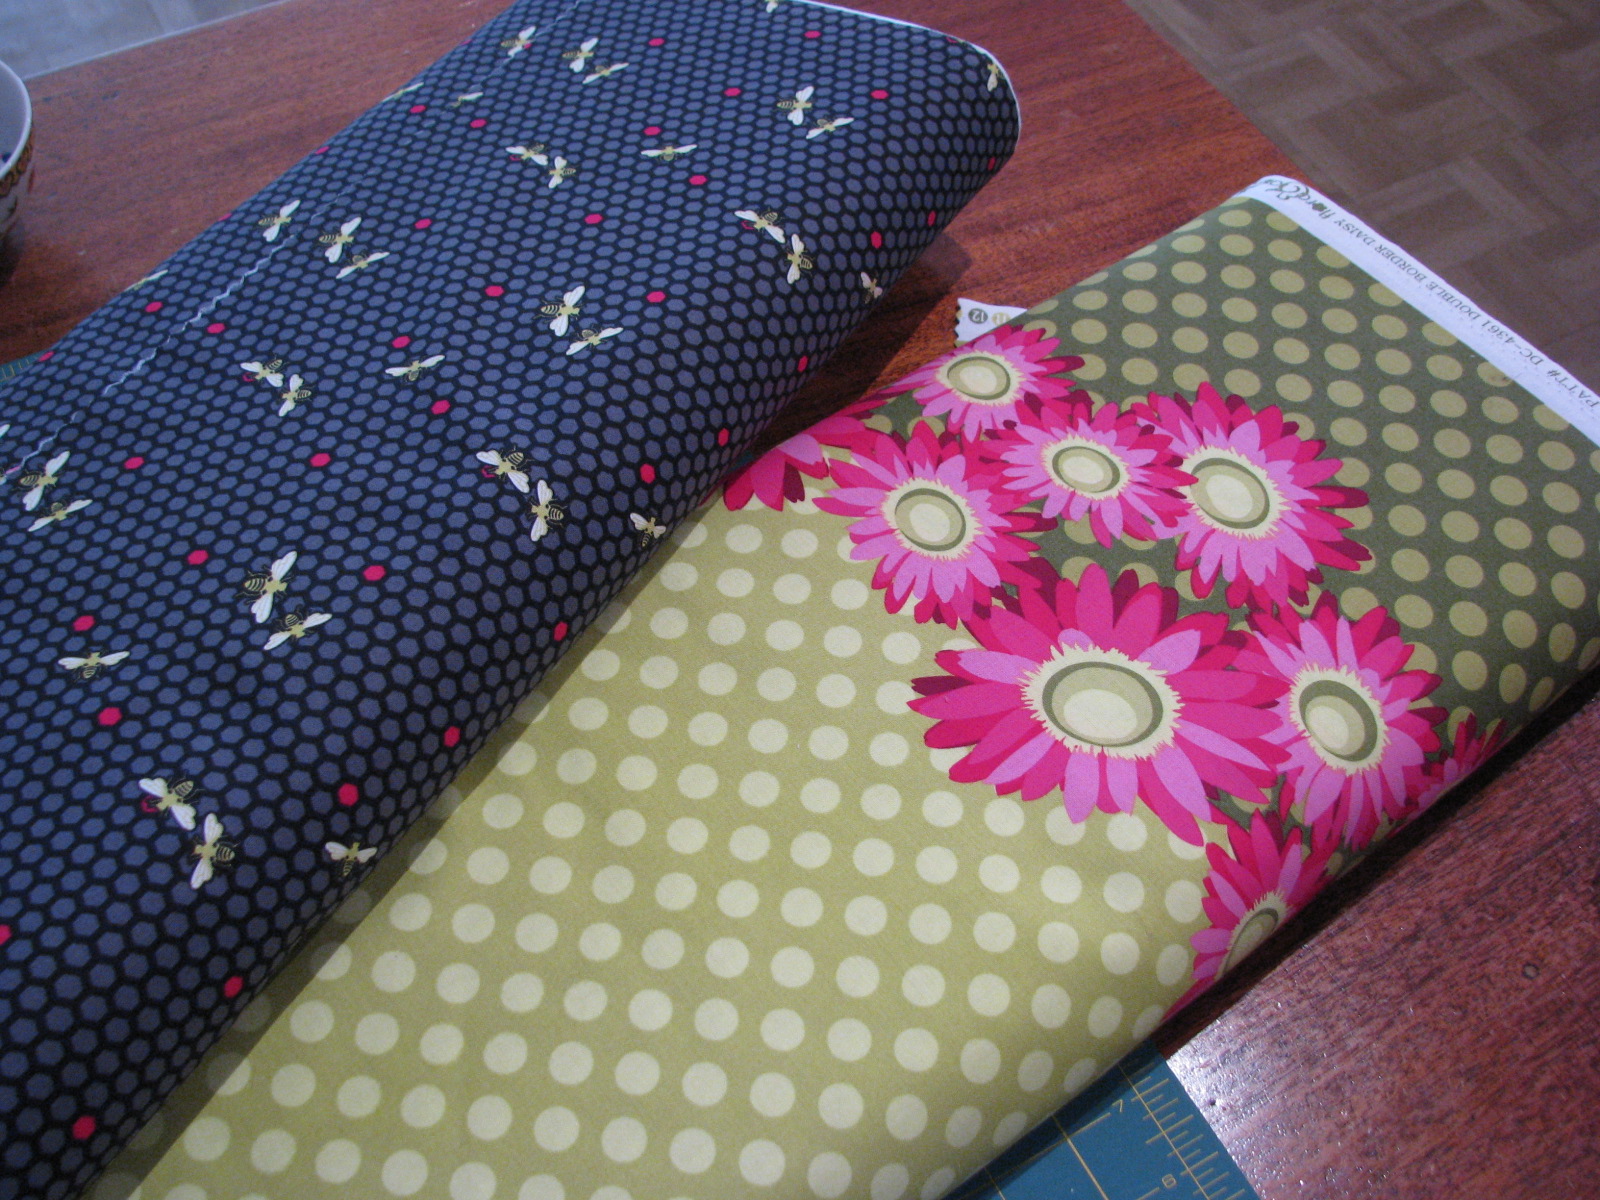
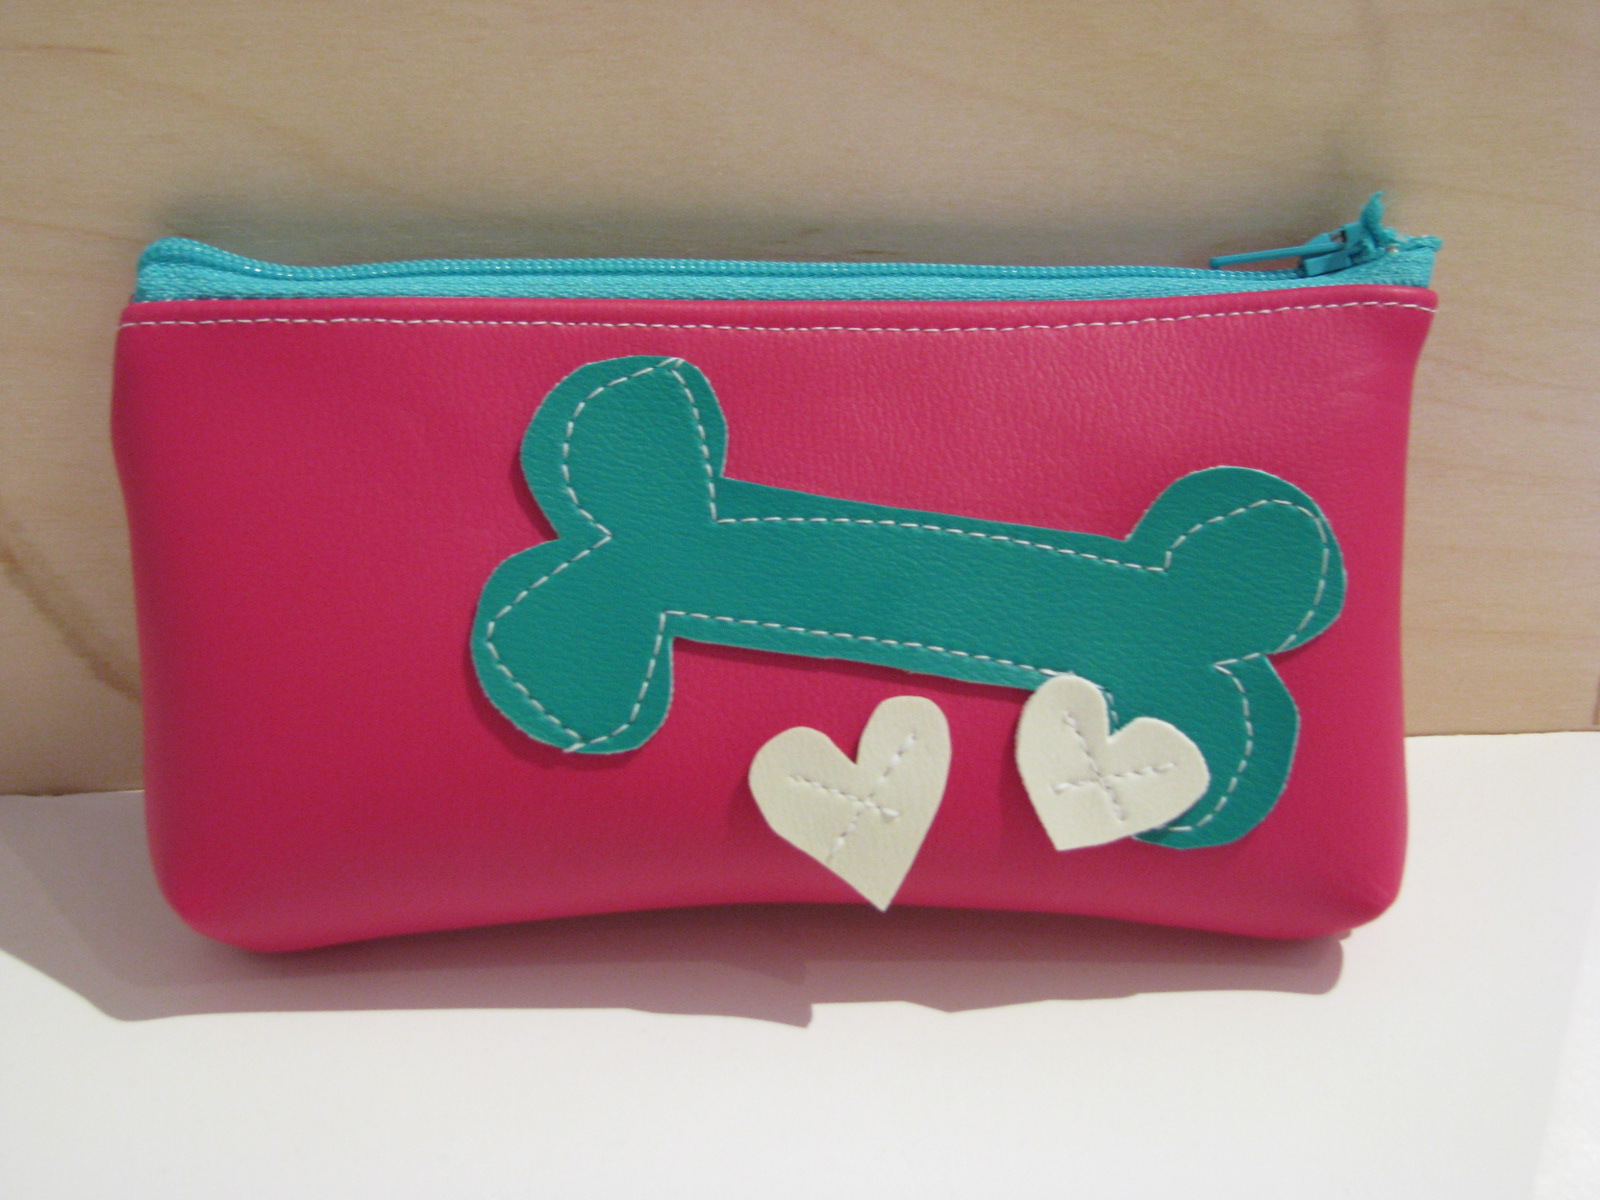
I am now the proud owner of a whole &%$# load of vinyl, and its so pretty!!! Which i now have listed on etsy, well just one listing. I wanted to show what can be made...and super easy.
First I wanted something cute to put on the outside..so the easiest and fastest for me to draw was bones and hearts!!
Here are my scraps, the pouch measures about 6" long by 4" tall...so minimal vinyl was used!! I was a bit nervous with my singer, which is a very basic machine, but it took it like a pro and didn't fuss or break a needle.
oh the amazing things you can do with fabric.... this is my sewing area in my shoppe, in the before picture there was this funky black I wanna be velvet but I was to cheap to pass, from the previous frame shoppe.
I was too lazy to paint, I have painted enough this last year, that I can still smell the fumes if I think real hard. After that fabulous-ness was removed I was ready to go...liquid starch in various application methods...spray bottle, spray from the can, and the full on paint set up ( roller and tray).
I found using multiple methods kept me from cursing up a storm and saved my arms... the easiest way to do this is tack the fabric a inch more than what you need to the wall (both top and bottom..until you get to know your weapons, fabric and starch).
Then get a good spray under the top of the fabric, then start rolling, spraying, rolling, spraying and so forth till you finish the first piece...then cut and move to the next piece... then wah lah in a few hours you have everything done and have to wait for it to dry...then if you have bubbles break out the spray and go over the bubbles that didn't love you.... if you are brave and have a big ladder, take a razor blade and cut the top off to make an even line. which i wasn't able to acheive, but i think it gives it a nice ...nobody is perfect look!!!
then admire and tell everyone how eco friendly you are...and how you can remove the fabric when you are sick of looking at it, wash it and find another use!!!!
My shoppe walls have been looking super bare..and I figure since I have all this beautiful fabric, what is a better way to display it , then by wrapping it around some frame forms. I started with alexander henry's good earth around the world...I still can't tell you how much I enjoy looking at it. The colors are amazing, it works perfectly together.
Step one..is cut the fabric to the right size of the frame, leaving about 2 inches on each side...enough to wrap around and staple it.
Step two...grab the staple gun and start stapling from the centers to the outside...one side first, then next side..then work your way to the outsides..making sure to pull the fabric just a bit so it is snug.
Step three...admire your project and then tell everyone how fabulously easy it was!!!!!
Here is my wall!!!!!
by far my favorite one...I keep thinking about what I can make with this fabric.
good earth bloom..another great one
and the out of print monroe...which no one is buyin, I think its fabulous!!!
I got my order from my distributor..YEAH, lots of felting tools and wool..I have never felted before but it looks like so much fun I can't wait to try it. I can't imagine it will be that tough, hope I don't stab myself to many times.
PS would love any tricks or references on how to do it easy!!!!